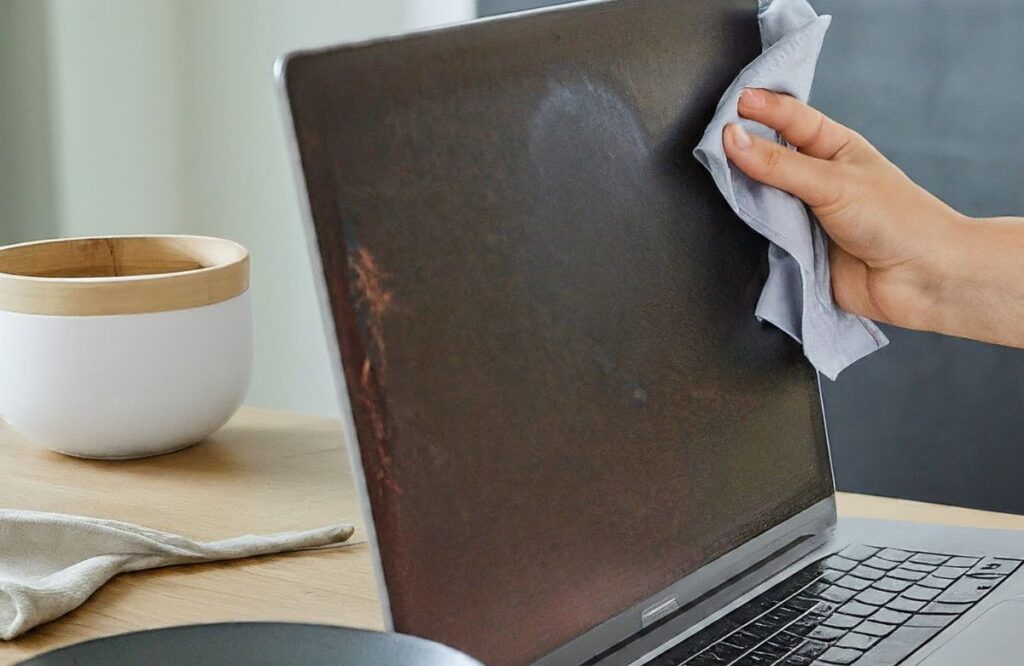
Laptops are so important nowadays, but accidents happen, especially spills. If you spill water on your laptop and see a cloudy patch on the screen, don’t panic. We can help you remove a cloud water patch from inside your laptop screen with a step-by-step guide on how to fix it:
- Get everything ready and drain any leftover liquid.
- Carefully open up the laptop and clean any affected areas.
- Check for any mineral deposits and let everything dry out properly.
- We’ll help you put everything back together and turn it on.
We’ll walk you through each step so you can save your laptop from that pesky cloudy patch.
8 Steps to Remove a Cloud Water Patch From Inside The Laptop Screen:
Now, let’s learn about the steps to remove a cloud water patch from inside the laptop screen in detail:
1.Prep the Computer
Before diving into the removal process, it’s crucial to ensure the safety of your laptop. Please turn it off immediately and disconnect any power source. Remove the battery if possible. This step is essential to prevent electrical damage and ensure your safety during the repair process.
2. Drain the Residual Liquid
Tilt your laptop to allow any residual liquid to drain out. Ensure the laptop is at an angle where the liquid doesn’t seep further into the internal components. Gently tap the laptop on a soft surface to encourage the liquid to escape. Patience is essential during this step to avoid causing additional harm.
3. Open the Laptop Casing
To effectively remove the cloud water patch from inside your laptop screen, you’ll need to access your laptop’s internals. Carefully open the laptop casing using the appropriate tools. Refer to your laptop’s manual or online resources for guidance on disassembling your specific model. Take note of each step to make the reassembly process smoother.
4. Clean the Affected Areas
Once the laptop casing is open, identify the areas the water patch affects. Using a lint-free cloth or cotton swabs, gently dab and absorb as much moisture as possible. Avoid rubbing, as this can further spread the liquid and damage the screen. Pay special attention to the edges of the screen where the cloudiness is likely to concentrate.
5. Inspect for Mineral Deposits
Water often carries minerals that can leave deposits on the screen, leading to a cloudy appearance. Inspect the screen for any mineral residue. If present, use distilled water and white vinegar to clean the affected areas. Be gentle to avoid scratching the screen, and ensure the cloth or cotton swab is damp.
6. Dry Thoroughly
After cleaning, allow the laptop and its components to dry completely. This is a crucial step to remove all the tiny cloud water patches inside the laptop screen. Consider using a can of compressed air to blow out any remaining liquid from hard-to-reach areas. Leave the laptop open in a well-ventilated area for at least 24 hours to ensure thorough drying.
7. Reassemble and Power On
Carefully reassemble your laptop, following the steps outlined in your laptop’s manual in reverse order. Once assembled power on the laptop and check for any remaining cloud water patches on the screen. If the issue persists, consider seeking professional help.
8. Preventive Measures for the Future
To avoid encountering the frustration of a cloud water patch again, consider implementing preventive measures. Invest in a spill-resistant laptop case, use a silicone keyboard cover, and be cautious when consuming liquids near your laptop. Additionally, regularly clean your laptop’s vents and fans to prevent overheating, reducing the risk of condensation inside the device. If, despite these precautions, you find yourself in need of professional assistance, don’t hesitate to reach out to reputable laptop repair services for expert guidance and solutions.
Can I use a hairdryer to speed up the drying process?
While it may be tempting, using a hairdryer can introduce heat and static, potentially causing further damage to internal components. It’s safer to let your laptop air-dry naturally in a well-ventilated area.
Is it necessary to remove the laptop battery during the repair process?
Yes, removing the laptop battery is a crucial safety step. It ensures no electrical current runs through the device, reducing the risk of short circuits and further damage.
What if the cloud water patch persists after following the steps?
If the issue persists, it’s advisable to consult a professional technician. There may be internal damage that requires specialized attention. Avoid attempting further repairs to prevent exacerbating the problem.
Conclusion
Dealing with a cloud water patch inside your laptop screen can be daunting, but you can successfully remove it with patience and the right approach. Follow the steps this guide outlines carefully, and remember to take preventive measures to protect your laptop from future water damage. If you encounter issues beyond your expertise, consider seeking professional assistance from a reputable wireless waves. By being proactive and cautious, you can prolong the life of your device and ensure it continues to serve you well.

