The camera functionality on Android devices has become an integral part of our daily lives, allowing us to capture moments, scan documents, and even engage in video calls. However, if you’re experiencing a black screen issue when trying to use the camera on your Android device can result from software glitches, hardware problems, or conflicts with third-party apps. It’s vital to diagnose the root cause before proceeding with solutions. Restarting your device, clearing camera app cache and data, checking for software updates, and booting into safe mode are initial steps. Hardware concerns should also be examined, and if software troubleshooting doesn’t help, seeking professional repair services be necessary. Resetting app preferences, clearing the cache partition, and as a last resort, performing a factory reset are potential solutions.
Each step contributes to regaining camera functionality and capturing those precious moments seamlessly. If you’re facing the problem of your Android camera not working and showing a black screen, this blog by Wireless Waves Repair will help you troubleshoot and resolve the issue before you go to a mobile phone repair shop.
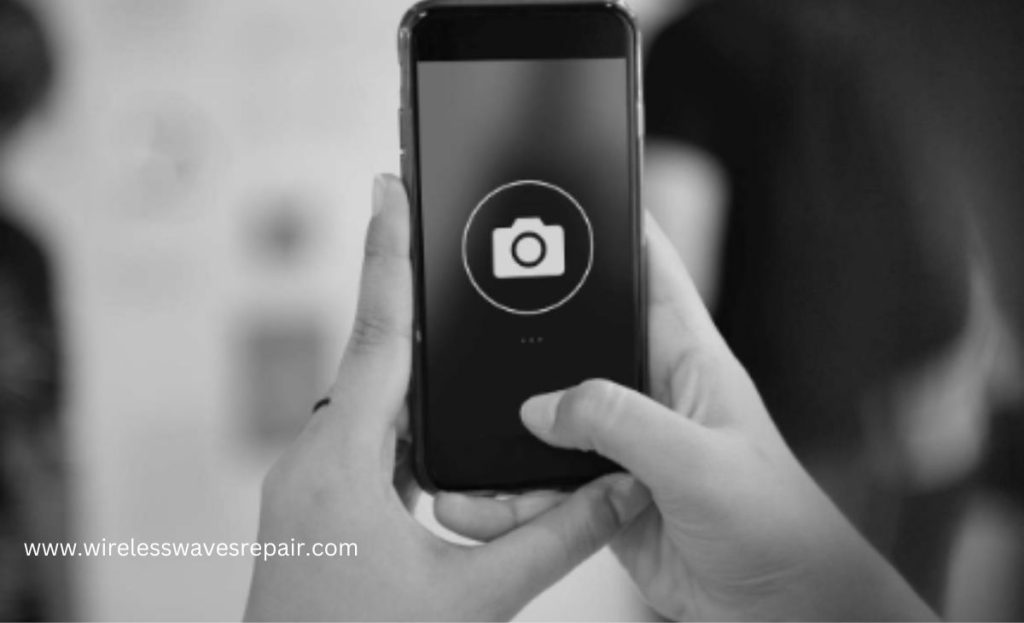
Understanding The Black Screen Issue – Prior To Visiting Mobile Phone Repair Shop
A black screen when opening the camera app on your Android device can occur due to various reasons. It might be caused by software glitches, hardware problems, or conflicts with third-party apps. Identifying the root cause is the first step toward resolving the issue.
Step-by-Step Troubleshooting Guide
1. Restart Your Device
Simple as it may seem, a restart can often resolve minor software glitches causing the camera black screen issue. Press and hold the power button on your device, then select “Restart” or “Reboot.”
2. Clear Camera App Cache and Data
Cached data and temporary files can sometimes interfere with the proper functioning of the camera app. To clear the cache and data, follow these steps:
- Go to “Settings” on your device.
- Navigate to “Apps” or “Applications” (the exact name may vary depending on your device).
- Find and select the camera app from the list.
- Tap on “Storage.”
- Choose “Clear Cache” and “Clear Data.”
3. Check for Software Updates
Outdated software can lead to compatibility issues with the camera app. Ensure that your device’s operating system and camera app are up to date by following these steps:
- Go to “Settings.”
- Scroll down and tap on “Software Update” (or “System” > “Software Update”).
- If updates are available, download and install them.
4. Boot into Safe Mode
Sometimes, third-party apps can interfere with the camera’s functionality. Booting your device into safe mode allows you to determine if the problem is caused by a third-party app. Here’s how:
- Press and hold the power button to bring up the power menu.
- Long-press the “Power Off” option.
- Choose “Restart in Safe Mode.”
- In safe mode, try opening the camera app to see if it works without a black screen. If it does, a third-party app might be the culprit.
5. Check for Hardware Issues
If software troubleshooting doesn’t resolve the issue, it’s possible that the problem lies with the hardware. Check for any physical damage to the camera lens or other components. If you suspect a hardware issue, consider seeking professional assistance from a mobile phone repair shop.
6. Reset App Preferences
Resetting app preferences can reset all app-related settings to their default values. This might help if the camera app’s settings were accidentally changed. Here’s how to do it:
- Go to “Settings.”
- Navigate to “Apps” or “Applications.”
- Tap on the three-dot menu icon and select “Reset App Preferences.”
7. Clear Cache Partition
Clearing the cache partition can help resolve various system-related issues. To do this:
- Turn off your device.
- Press and hold the volume up button and the power button simultaneously until the device logo appears.
- Use the volume buttons to navigate to “Recovery Mode” and the power button to select it.
- In Recovery Mode, navigate to “Wipe Cache Partition” using the volume buttons and select it with the power button.
- After the process is complete, select “Reboot System Now.”
8. Factory Reset
As a last resort, you can perform a factory reset to revert your device to its original settings. Be aware that this will erase all data on your device, so make sure to back up your important information before proceeding. Factory reset steps vary depending on the device model, so consult your device’s user manual or online resources for guidance.
Final Thoughts
Experiencing an Android camera not working with a black screen can be frustrating, but with proper troubleshooting, you can often resolve the issue. Whether it’s a minor software glitch or a more complex hardware issue, taking these steps will help you regain the functionality of your Android camera and get back to capturing memories and enjoying video calls. So, for effective solutions to the Android camera not working black screen issue, opt for Wireless Waves Repair. Our expert technicians offer unparalleled repair services, all at remarkably competitive rates.