Laptops are needed for business, studies, and fun, but their interiors are weak. A fan can collect dust and various particles inside the computer. This can build up and cause a restriction in airflow, leading to overheating and eventually damaging the hardware. Therefore, the laptop fan should be cleaned so that the internal elements of the laptop remain cool. This article will walk you through various techniques to clean your laptop fan without compressed air.
To clean the laptop fan without compressing air, gather the necessary tools and materials, prepare before cleaning, and disassemble the laptop. Laptop users must also clean the fan blades and surrounding areas and reassemble the laptop.
6 Steps to Clean Laptop Fan Without Compressed Air
Cleaning a laptop fan without compressed air requires an extremely gentle and fragile touch. A clean fan ensures maximum airflow and, thus, less overheating, prolonging the laptop’s internal components. To benefit from this, users should follow these step-by-step guidelines.
Step 1: Tools and Materials You’ll Need
To remove dust from your laptop fan without compressed air, you will need the following very basic tools and materials:
- Soft microfiber cloth
- Small brush with soft bristles
- Isopropyl alcohol (optional for deeper cleaning)
- Screwdrivers (specific to your laptop model)
- Cotton swabs
- A vacuum cleaner with a brush attachment (optional)
- Toothpick or tweezers (optional)
Step 2: Preparation Before Cleaning
Before you begin the actual process of cleaning, you need to prepare your laptop and your space. Just run through the following preparatory steps:
- Power Off and Unplug: First, shut down your laptop completely and unplug it from a power source. If the battery is removable, remove that, too.
- Choose a Clean Workspace: Work in a clean, well-lit environment, preferably on a soft surface like a table with a towel or mat for cleaning a laptop fan without compressed air. This will ensure that your laptop screen is saved from damage.
- Consult Your Laptop’s Manual: If you have never disassembled your laptop, look in the manual for instructions. Alternatively, you can look for a guide to your type of laptop repair to find out where the fan is and how to access it safely without damaging anything.
Step 3: Disassemble the Laptop
Fans on most laptops are usually located near the vents on the back or side and usually underneath a panel at the bottom of the computer. Access the fan as shown below:
- Unscrew the Back Panel for Laptop Fan Cleaning Without Compressed Air: Using a screwdriver, remove the screws that hold the back panel of the laptop carefully. Remember their locations and the count because some of the screws are different in size.
- Remove the Panel: Gently pry off the back panel using your fingers or a plastic pick. Avoid prying too hard, as clips keep the panel attached.
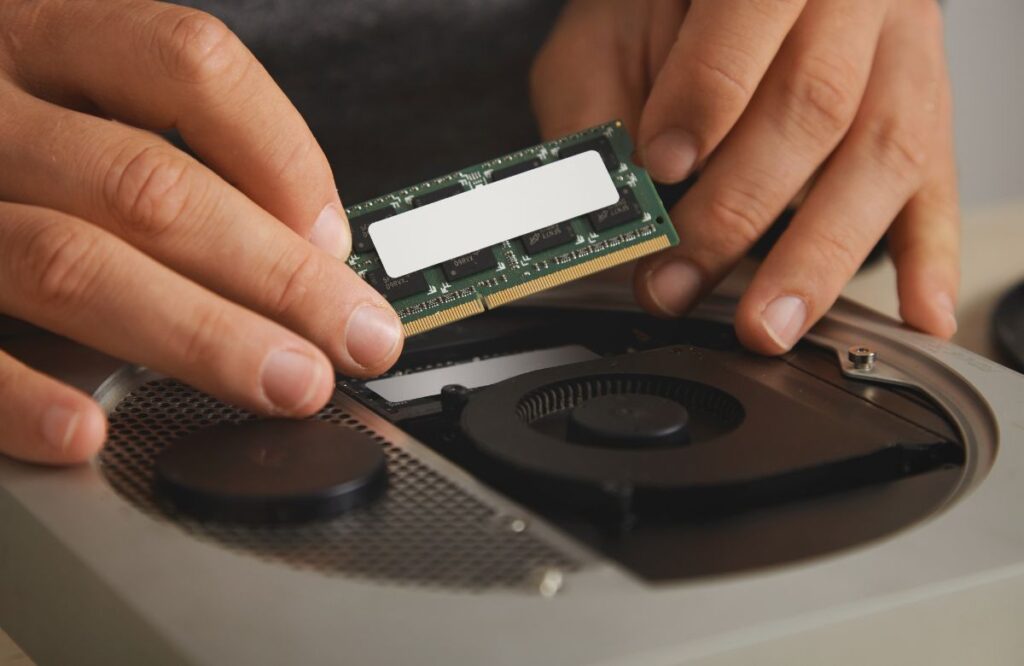
- Locate the Fan: Locate the fan from where you removed the panel. It’s usually located near your laptop’s exhaust vent, and you can view the blades.
Step 4: Clean the Fan Blades
Once you gain access to the fan, you should clean the blades. Dust accumulates on the blades, and you need to do this to ensure you’re getting the right airflow.
- Use a Small Brush To Clean Laptop Fan Without Compressed Air: Using a small soft-bristled brush, lightly brush the dust off the fan blades. Don’t bend the blades. The brush should be gentle enough not to cause static to your sensitive parts.
- Hold the Fan in Place: Brush the fan with a finger while holding it in place. This way, you can minimize the speed at which the blades are spinning, as any speed might damage the bearings.
- Remove Stubborn Dust: To remove stubborn or unwilling dust, use a cotton swab soaked in isopropyl alcohol and wipe over the blades. Isopropyl alcohol dries fast, so it will not leave any moisture. However, make sure you don’t overdo it.
Step 5: Clean the Surrounding Areas of the Laptop Fan
Dust accumulates on the blades, the fan housing, vents, and other components within the area.
- Wipe the Fan Housing: Clean with a microfiber cloth. A cotton swab can be very helpful for parts that are tough to reach.
- Check the Air Vents: Dust tends to pack air vents, so clean them. Use a soft brush to wipe dust from the vent openings. You can dislodge any serious debris stuck in the vent grill using a toothpick or tweezers.
- Vacuum the Area (Optional): Use a vacuum cleaner attachment with a brush to gently sweep dust from the laptop fan and vents. Be careful not to press too hard so you do not displace any internal components.
Step 6: Reassemble the Laptop
Now that your fan and surrounding areas have been cleaned, it is time to reassemble your laptop.
- Reattach the Back Panel: Push it back in and snap it back into place.
- Secure with Screws: Put the screws back in their original position.
- Reconnect the Battery and Power it On: If you removed the battery before you began your teardown, reconnect it. Boot the laptop on to test it with its battery in place. Monitor for the fan to run quietly with minimal resistance.
Can You Clean a Laptop Fan Without Compressed Air?
You can clean a laptop fan without compressed air using a soft-bristled brush, microfiber cloth, or duster spray to gently remove dust and debris from fans, vents, and crevices without damaging internal components.
How to Fix a Loud Fan on a Laptop?
To fix a loud fan on a laptop, start by cleaning the fan blades and surrounding area with compressed air or a soft brush. Check for blockages and replace the fan if necessary. Adjust the fan’s settings or update the laptop’s BIOS to reduce noise.
How to Cool Down a Laptop?
To cool down a laptop, use a laptop stand to improve airflow, keep it flat, and avoid blocking vents. You can also use a laptop cooling pad or external fan to dissipate heat.
Conclusion
Cleaning a laptop fan without compressed air is straightforward but requires patience and the right tools. To do this, gather the necessary tools and materials, prepare before cleaning, and disassemble the laptop. Laptop users must also clean the fan blades and surrounding areas and reassemble the laptop. You can contact laptop repair experts like Wireless Waves Repair to learn more about cleaning the fan.